

What’s new on the home front lately? Well, a lot! We’ve been slowly chipping away at our list of house projects…and adding more along the way. Here’s a rehash of one of our room redos from this summer – the entryway!
 The Never-Ending Project: The Entryway
You know those projects you plan on banging out over a weekend that somehow never seem to end? That was the entryway.
Let me set the scene: The grand entrance to our house was a dusty 36×36 room covered in textured wallpaper – even on the ceiling. It also featured a sconce I dubbed The Haunted Victorian Candlestick. Nearly everything about this space was no bueno. Any sort of transformation was going to be an improvement.
The first thing that needed to go was the wallpaper. You know how the farmhouse look is trendy right now? This was the 90s version of it. Before shiplap was all the rage, there was seafoam green wallpaper stenciled with ivy.

I figured that removing wallpaper was a task I could manage. After watching a few video tutorials, my confidence was high – this wallpaper was going to be HISTORY. Using a heat gun, I carefully began to heat it up and pull it down in large strips. Unfortunately, as the wallpaper came down, so did something else…pieces of the wall. Our charming plaster walls literally crumbed to the floor. However, I was determined to get rid of the wallpaper, even if the walls were a casualty of bad design choices. In a few hours, the entryway went from 90s Farmhouse chic to crumbling villa.
Phase Two: The Aftermath.
The second phase of Operation Entryway was supposed to be painting. One look at the plaster pieces that littered the ground and we knew there was no way we were painting over the walls in their current state. We toyed with the idea of hanging drywall, but with zero experience and a limited budget, we decided that plastering the space would be the better option.
Before this project, my knowledge of plaster began and ended with papier-mache. Plastering walls is kinda like papier-mache, except you’re working on a 90 degree surface and desperately trying to do everything within 5 minutes since plaster sets SO QUICKLY.
In the stifling heat, we poured, mixed, and smoothed on layers of fresh plaster. The result was…ok. I’m the first to admit that it’s far from perfect. There are sections of uneven texture, places that could have used another coat of plaster. As we were working on this space, we had to ask ourselves – how much time and energy do we want to put into this entryway?
Phase Three: The Final Touches
With the wallpaper long gone, the next to-do item was removing the light fixture. As a self-proclaimed advocate of preserving historic charm, I felt a pang of guilt as The Haunted Victorian Candlestick came off the wall. This was an ORIGINAL FEATURE from the house that I hated.

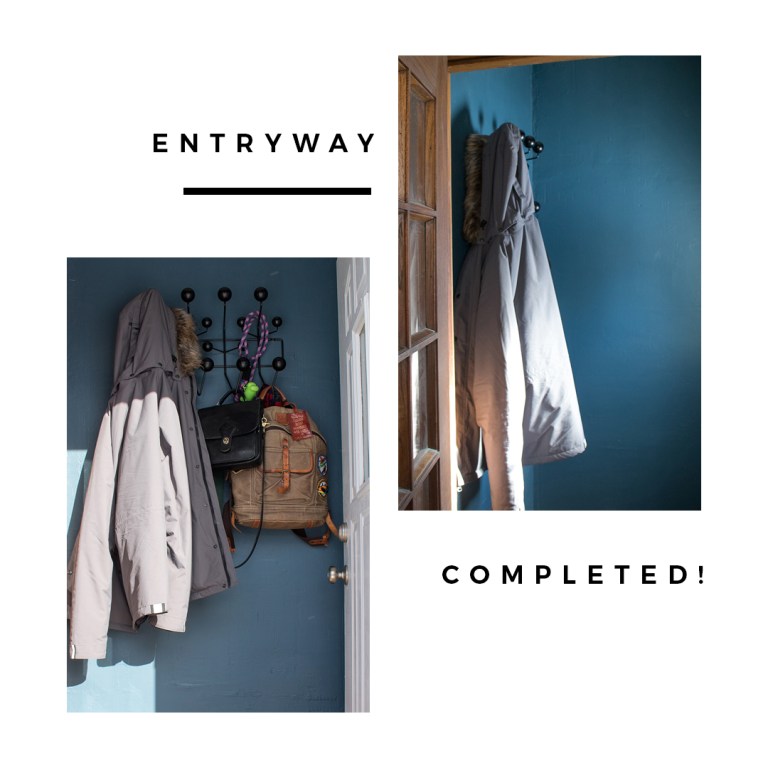
To ease my guilty conscience, I reminded myself: the sconce wasn’t just ugly – it didn’t work. Once the fixture was removed and the wall was patched, we added a more useful hang-it-all.
To pull everything together, we painted the room Bunglehouse Blue, the same color we used in the living and dining rooms.
 While my vision for this space didn’t totally come to fruition, this was the first project where we got a healthy dose of “things not going as planned”. Luckily, these mishaps took place in the smallest room of the house.
